Certified Plant Passports

100% Positive Feedback

5 Star Rating

Grown With Care

chevron_left chevron_right

Learn about all things houseplants

View

Alocasia Drooping? Here’s What to Do - Odd Leaf

by Odd Leaf

Alocasia Drooping? Here’s What to Do

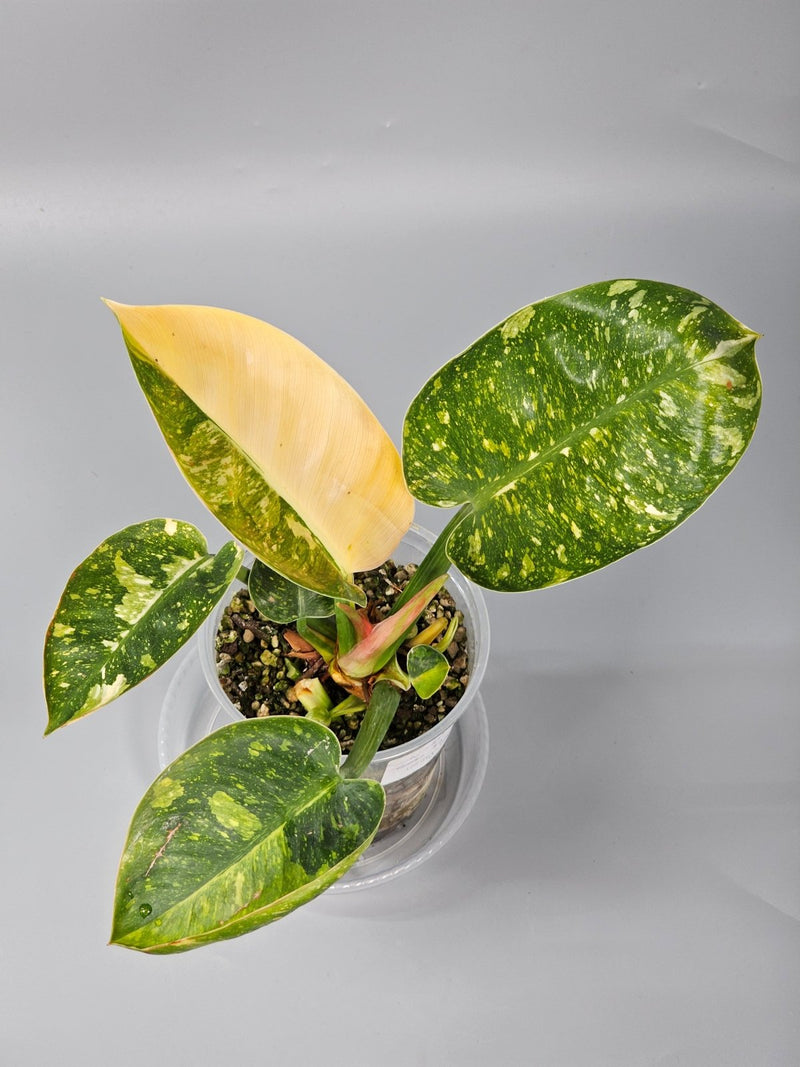
Alocasia Drooping? Here’s What to Do If you’ve recently noticed your Alocasia looking a bit sad and droopy, you’re not alone. This stunning member of the rare houseplants collection can sometimes present a challenge, even to seasoned indoor gardeners. But worry not! With a few tweaks to your care routine, you can restore your Alocasia to its former glory. Let’s dive into the common causes of drooping in Alocasias and how to remedy them. Understanding Alocasia Drooping Alocasias, with their striking foliage and architectural beauty, are a popular choice among rare houseplants enthusiasts. However, their drooping leaves can be a sign of several potential issues, ranging from watering mishaps to environmental stressors. Common Reasons for Drooping Watering Issues: Both overwatering and underwatering can lead to drooping leaves. Light Requirements: Insufficient lighting can weaken your Alocasia, leading to droopy leaves. Humidity and Temperature: Being tropical plants, Alocasias thrive in high humidity and stable temperatures. Pot and Soil: Poor drainage and the wrong soil mix can affect the plant’s health. Step-by-Step Guide to Fix Drooping Alocasia 1. Check the Watering Schedule Begin by examining the soil. If it’s soggy, you might be overwatering your plant. Allow the soil to dry out before watering again. Conversely, if the soil is bone dry, your Alocasia needs more frequent watering. Aim for a balance where the soil remains slightly moist but not waterlogged. 2. Assess the Lighting Conditions Alocasias require bright, indirect light. If your plant is in a too dark spot, consider moving it to a location where it can receive the right amount of light without being exposed to direct sunlight, which can scorch its leaves. 3. Adjust Humidity and Temperature Try to maintain a humidity level of at least 60% around your Alocasia. You can increase humidity by using a humidifier, placing a water tray near the plant, or grouping it with other plants. Also, keep your Alocasia away from drafts and sudden temperature changes. 4. Ensure Proper Drainage and Soil Mix Check if the pot has adequate drainage holes. If not, repot your Alocasia into a pot that does. Use a well-draining soil mix designed for tropical plants, which typically includes peat, perlite, and vermiculite. Troubleshooting Other Issues What if the problem persists after adjusting care? Examine the roots for signs of rot, which could indicate overwatering. If root rot is present, you may need to trim the affected roots and repot the plant into fresh soil. Can nutrient deficiencies cause drooping? Yes, a lack of essential nutrients like potassium can lead to drooping leaves. Consider using a balanced, water-soluble fertilizer every month during the growing season. Is pest infestation a possible cause? Yes, pests such as spider mites and mealybugs can stress your plant, leading to drooping. Regularly inspect the leaves and treat infestations with appropriate insecticides or natural remedies like neem oil. Styling Your Alocasia Once your Alocasia is thriving, it can become a focal point in any room. Place it in a decorative pot that complements your interior style, and position it in a spot where its dramatic leaves can truly stand out. Consider pairing it with other rare houseplants to create a lush, tropical feel in your home. Final Thoughts While Alocasia care can be slightly demanding, the visual rewards of this stunning plant are well worth the effort. By understanding the needs of your Alocasia and responding to any signs of distress quickly, you can ensure that your plant remains a vibrant and healthy part of your indoor garden for years to come. For more tips on caring for other rare houseplants, check out our detailed guides on Anthurium care and Monstera care.

Read more

How to Identify and Treat Common Philodendron Problems - Odd Leaf

by Odd Leaf

How to Identify and Treat Common Philodendron Problems

How to Identify and Treat Common Philodendron Problems Philodendrons are among the most popular and adored rare houseplants, revered for their varied foliage and easy-going nature. However, even the hardiest plants can encounter issues. Knowing how to identify and address these problems can help keep your philodendrons thriving. This guide aims to equip beginner and intermediate plant lovers with the knowledge to keep their philodendrons in excellent health. Common Problems and Their Symptoms Philodendrons can suffer from several issues, primarily caused by environmental stress, pests, or diseases. Here are the most common problems and their identifying symptoms: Yellow Leaves: Overwatering typically causes yellowing leaves, although nutrient deficiencies can also be a culprit. Brown Leaf Tips: This often indicates under-watering or low humidity. Stunted Growth: A lack of light or insufficient fertilization can lead to slow or stunted growth. Pests: Look out for spider mites, mealybugs, and aphids, which can cause discolored leaves and sticky residue. How to Treat Common Philodendron Issues 1. Yellow Leaves To address yellow leaves, first ensure that your watering schedule is appropriate. Philodendrons prefer the soil to dry out slightly between watering. If overwatering is ruled out, consider whether your plant is getting enough nutrients. A balanced, water-soluble fertilizer applied every month during the growing season can help. 2. Brown Leaf Tips If your philodendron has brown tips, it may be craving more humidity. Increasing room humidity with a humidifier or pebble tray can help. Also, ensure that your watering schedule is consistent—philodendrons dislike dry soil for prolonged periods. 3. Stunted Growth Insufficient light can severely inhibit the growth of a philodendron. Place your plant in bright, indirect sunlight. If natural light is limited, consider using grow lights. Additionally, regular feeding during the growing season is crucial for vigorous growth. 4. Pests For pests like spider mites and mealybugs, isolate the affected plant to prevent spread to other houseplants. You can treat minor infestations by wiping the leaves with a solution of soapy water. For more severe cases, use an appropriate insecticide, following the manufacturer’s instructions. Preventative Measures Maintaining a healthy environment is key to preventing issues. Here are some tips: Ensure proper lighting conditions—bright, indirect light is ideal for most philodendrons. Keep the plant's environment clean to avoid attracting pests. Monitor the watering schedule to avoid overwatering or under-watering. Use well-draining soil to prevent waterlogging. FAQs About Philodendron Care How often should I water my philodendron? Water your philodendron when the top inch of soil feels dry. Adjust the frequency based on season and environmental conditions. What is the best fertilizer for philodendrons? A balanced, water-soluble fertilizer, used monthly during the growing season, is ideal for philodendrons. Can philodendrons grow in low light? While philodendrons can tolerate low light, they thrive in bright, indirect sunlight. Growth may slow significantly in inadequate lighting. Further Reading For more in-depth information on caring for philodendrons and other rare houseplants, check out our other articles: Philodendron Melanochrysum vs. Gloriosum: What’s the Difference? Explore The Rare Collection at Odd Leaf Houseplants Anthurium Clarinervium Care and Common Mistakes to Avoid By understanding the common issues that can affect philodendrons and taking proactive steps to prevent them, you can ensure that your rare houseplants remain healthy and vibrant additions to your home.

Read more

Why Are My Anthurium Leaves Turning Brown? - Odd Leaf

by Odd Leaf

Why Are My Anthurium Leaves Turning Brown?

Why Are My Anthurium Leaves Turning Brown? As a lover of rare houseplants, encountering issues like browning leaves on your Anthurium can be disheartening. Anthuriums, with their glossy leaves and striking flowers, make a stunning addition to any indoor garden. However, when their leaves start turning brown, it often signals that something might be amiss in their care routine. Let’s explore the common reasons behind this issue and how to rectify them. Common Causes of Browning Anthurium Leaves Browning leaves in Anthuriums can be attributed to several factors, ranging from environmental stresses to improper care practices. Understanding these can help you quickly rectify the issue and restore your plant to health. Watering Issues: Both overwatering and underwatering can cause the leaves of your Anthurium to turn brown. Overwatering leads to root rot, while underwatering can dehydrate the plant. Low Humidity: Anthuriums thrive in high humidity environments. Dry air can desiccate the leaves, leading to browning edges. Excessive Light: While Anthuriums need bright, indirect light, too much direct sunlight can scorch the leaves, causing them to brown. Pests and Diseases: Pests like spider mites and diseases such as bacterial blight can also lead to brown spots on the leaves. Nutrient Deficiency: A lack of essential nutrients, particularly magnesium and iron, can manifest as browning leaves. Step-by-Step Solutions to Prevent Browning Leaves Addressing the browning of your Anthurium leaves involves a few careful adjustments to your plant care routine: Adjust Your Watering Schedule: Ensure the soil is moist but not soggy. Water your Anthurium when the top inch of soil feels dry to the touch. Improve Humidity: Use a humidifier or place a water tray near your plant to boost the surrounding humidity. Optimize Light Exposure: Position your Anthurium in a spot where it receives bright, indirect sunlight. Avoid direct sun exposure, especially during the hot midday hours. Check for Pests and Diseases: Regularly inspect your plant for signs of pests or disease. Treat infestations early with appropriate pesticides or natural remedies. Feed Your Plant: Use a balanced, water-soluble fertilizer every other month during the growing season to prevent nutrient deficiencies. FAQs About Anthurium Care How often should I water my Anthurium? Water your Anthurium once the top inch of soil has dried out. This usually means watering once a week, but adjust according to temperature and humidity levels. What is the best fertilizer for Anthuriums? A balanced 20-20-20 fertilizer diluted to half-strength is ideal for feeding an Anthurium. Apply during the growing season for best results. How do I increase humidity for indoor plants? Besides using a humidifier, you can place your plant on a water-filled pebble tray or group it with other plants to create a microenvironment with higher humidity. Styling Your Anthurium Anthuriums are not just admired for their care aspects but also for their aesthetic appeal. Place your Anthurium in a bright, well-lit room, away from direct sunlight, to complement modern and minimalistic decor themes. Opt for decorative pots that match your interior to enhance the overall appearance of your space. For more tips on caring for your Anthurium or other rare houseplants, feel free to explore our detailed guides and articles. Whether you are a seasoned plant parent or new to the indoor gardening scene, understanding the unique needs of your plants is key to enjoying their beauty and benefits. Remember, each plant is unique and might show different signs of distress. Observing your plants regularly and adjusting care promptly can make a significant difference in their health and growth.

Read more

Why Is My Monstera Turning Yellow? - Odd Leaf

by Odd Leaf

Why Is My Monstera Turning Yellow?

Why Is My Monstera Turning Yellow? Welcome to the lush world of Monstera, a favourite amongst plant lovers for its dramatic, Swiss-cheese-like leaves and easy-going nature. However, even the sturdiest plants can encounter issues, and yellowing leaves in Monsteras can leave many enthusiasts puzzled. Let’s unfold the reasons behind this discolouration and how you can restore the vibrant green health of your beloved plant. Understanding the Causes of Yellowing Leaves Yellow leaves can be symptomatic of several issues, ranging from natural aging to more concerning environmental or care mishaps. Identifying the cause is the first step to remedying the problem. Watering Issues: Both overwatering and underwatering can lead to your Monstera's leaves turning yellow. Light Exposure: Insufficient lighting or too much direct sunlight can also stress the plant, causing leaves to yellow and wilt. Nutrient Deficiency: A lack of essential nutrients, particularly nitrogen, can manifest as yellowing leaves. Pest Infestations: Pests like spider mites and mealybugs can drain your plant of its vital juices, leading to discoloured leaves. Diagnosing and Fixing Watering Issues Watering correctly is crucial for keeping your Monstera healthy. Here’s how you can ensure optimal watering: Condition Action Overwatering Let the soil dry out before watering again; consider improving drainage by adding perlite or sand. Underwatering Establish a regular watering schedule. Water thoroughly until water runs from the drainage holes. Ensuring Proper Light Exposure Monsteras prefer bright, indirect light. Too little light can weaken your plant, while too much direct sunlight can scorch the leaves, causing them to turn yellow. If you suspect lighting issues, try relocating your Monstera to a spot with indirect but bright light, or use sheer curtains to diffuse direct sunlight. Addressing Nutrient Needs A balanced diet is important for your Monstera. Utilise a balanced, water-soluble fertiliser every month during the growing season. If you notice yellowing leaves, consider whether your plant might be missing vital nutrients. Nitrogen deficiency, in particular, can cause yellowing. A supplement with a higher nitrogen content might be necessary. Combating Pests Regularly check your Monstera for signs of pests. If you find any, isolate the affected plant to prevent spread and treat it with an appropriate insecticide or natural remedy like neem oil. Keeping the leaves clean can also prevent pest infestations. FAQs Can temperature fluctuations cause my Monstera to turn yellow? Yes, sudden changes in temperature or drafts can stress your plant, leading to yellowing leaves. Try to keep your Monstera in a stable environment away from draughty windows or heating vents. Is it normal for old Monstera leaves to turn yellow? Yes, it is natural for older leaves at the bottom of the plant to eventually turn yellow and die off as part of the plant’s growth process. This is normal and allows nutrients to be redirected to newer growth. How often should I repot my Monstera? Monsteras typically need to be repotted every 18-24 months. If your plant's growth seems stunted or the soil dries out too quickly after watering, it might be time to repot. Final Thoughts Yellowing leaves can be a sign that your Monstera is asking for help. By understanding and addressing the specific needs of your plant, you can ensure it remains a vibrant and thriving component of your indoor garden. For more care tips on rare houseplants, check out our detailed guides and expand your green expertise! Interested in expanding your collection? Explore our Rare Collection for more exotic options that can bring unique beauty to your home.

Read more