Certified Plant Passports

100% Positive Feedback

5 Star Rating

Grown With Care

chevron_left chevron_right

Learn about all things houseplants

View

How to Build Your Rare Plant Collection from Cuttings

by Odd Leaf

How to Build Your Rare Plant Collection from Cuttings

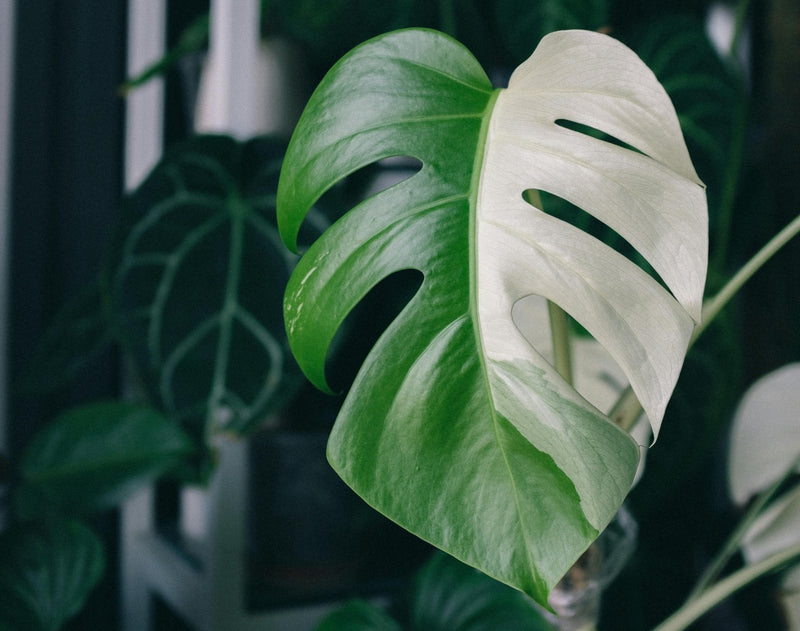
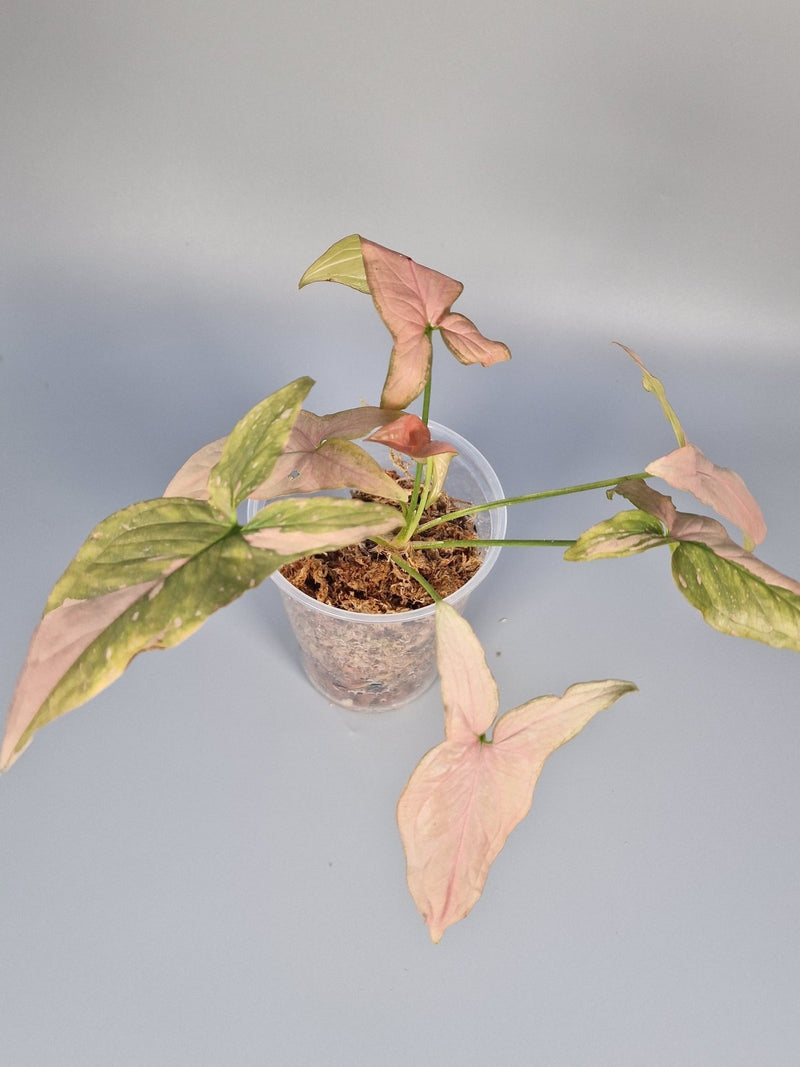
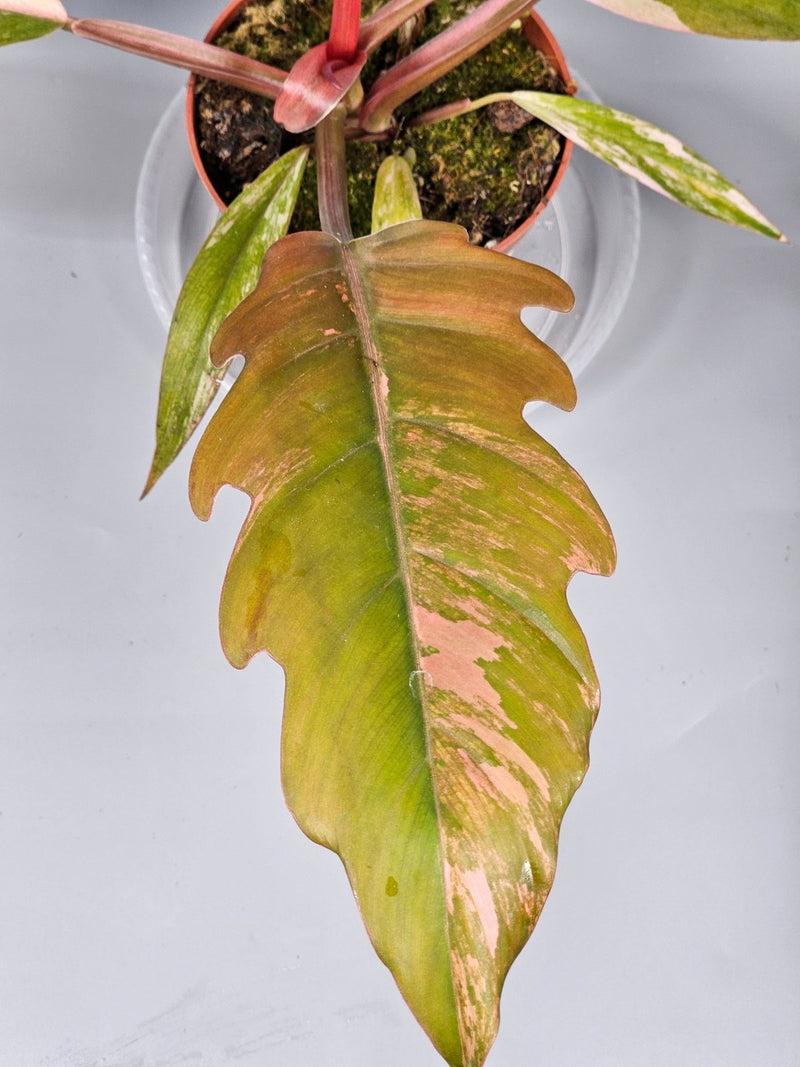
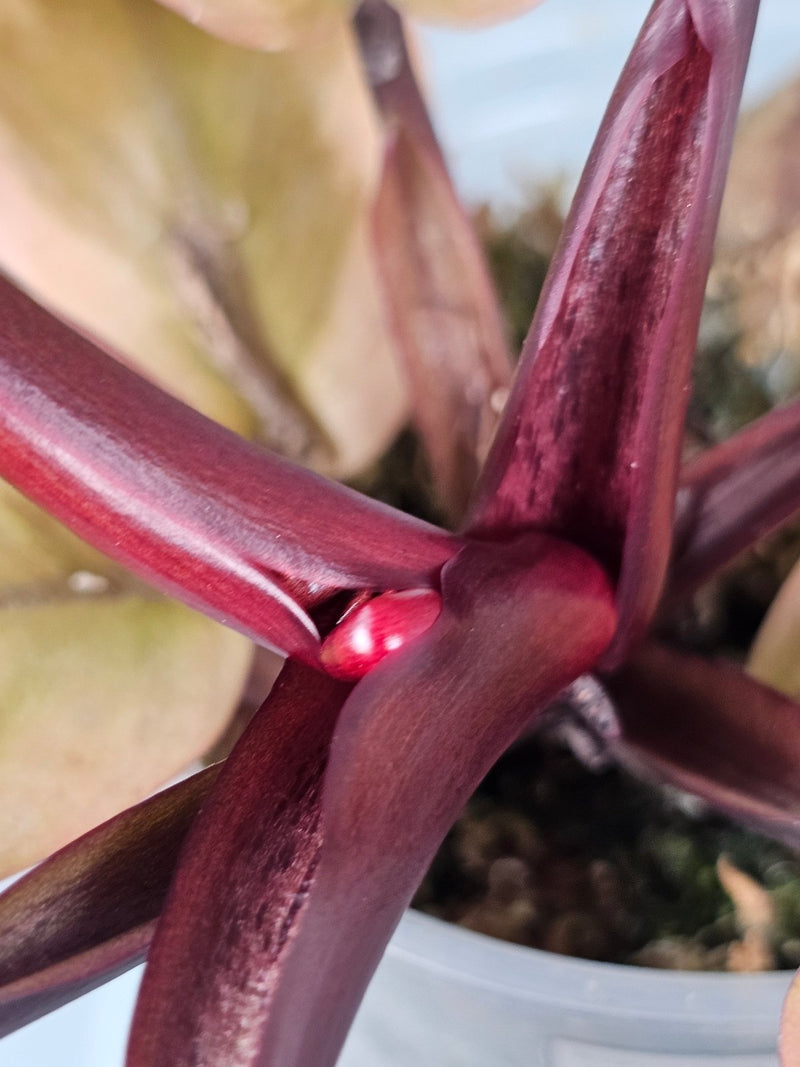
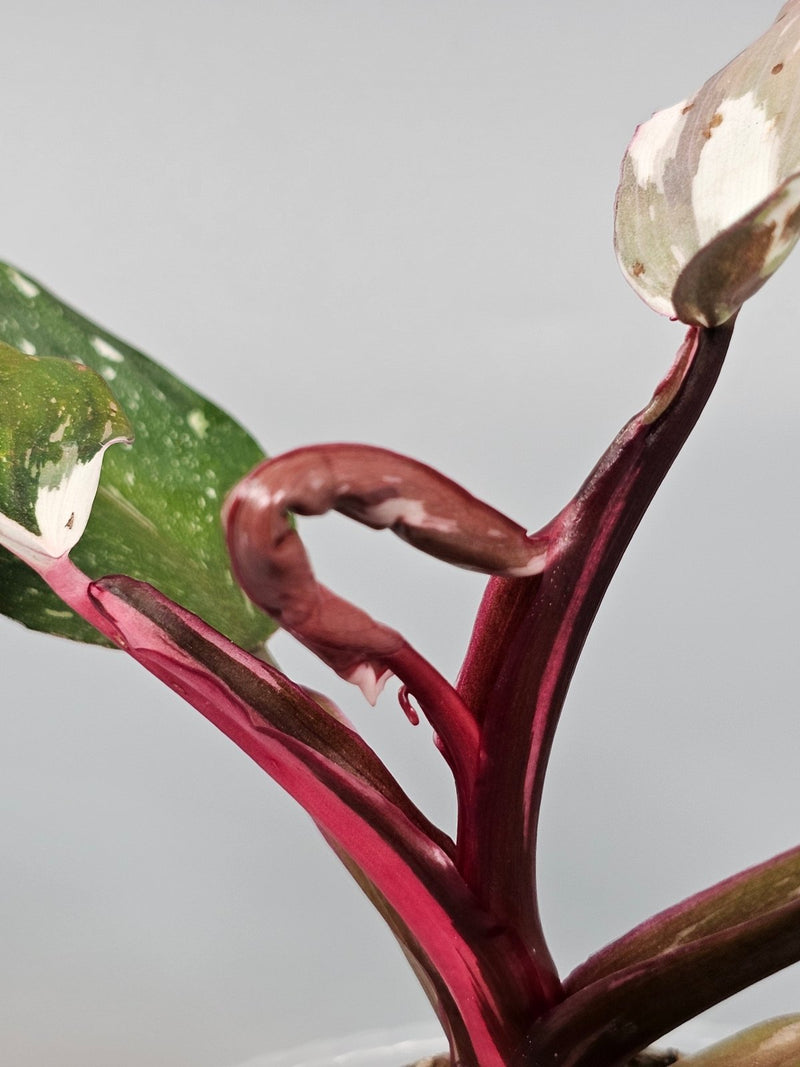
How to Build Your Rare Plant Collection from Cuttings Starting a collection of rare houseplants can be a thrilling and rewarding hobby. Not only do these plants bring a unique beauty to your home, but the process of cultivating them can also be deeply satisfying. One of the most cost-effective and rewarding methods to expand your collection is through plant cuttings. This guide will walk you through the basics of how to successfully grow your rare houseplants using cuttings. Understanding Plant Cuttings Plant cuttings involve taking a segment of a plant and using it to grow a new plant. This method is particularly popular among rare houseplant enthusiasts because it allows you to multiply your collection without purchasing new plants. Stem Cuttings: This involves cutting a section of the stem which includes at least one node (where leaves, branches, or aerial roots grow from). Leaf Cuttings: Some plants can be propagated just by using a piece of the leaf, including many types of succulents and begonias. Root Cuttings: This less common method involves taking a section of root to produce new shoots. Choosing the Right Plants for Cuttings Not all plants are suitable for propagation from cuttings. Some of the best rare houseplants for beginners to propagate include varieties from the Monstera, Philodendron, and Syngonium families. These plants tend to root easily and grow vigorously. Step-by-Step Guide to Propagating from Cuttings Prepare Your Tools: You'll need a sharp, clean pair of scissors or a knife, pots, fresh potting soil, and rooting hormone (optional but helpful). Select and Cut: Choose a healthy section of the plant with at least one node. Make a clean cut just below the node. Apply Rooting Hormone: Dip the cut end into rooting hormone. This step is optional but can encourage quicker and more robust root development. Plant: Place the cutting in moist potting soil or water, depending on the specific requirements of the plant. Ensure the node is well covered. Provide Care: Keep the cutting in a warm, humid environment with indirect light. Monitor the moisture level to ensure it doesn’t dry out or become waterlogged. Transplant: Once the cutting has established roots and starts showing new growth, transplant it into a larger pot with fresh soil. Troubleshooting Common Issues Propagating rare houseplants isn't without its challenges. Here are some common issues you might encounter: Rotting: This can occur if the cutting is too wet. Ensure proper drainage and avoid overwatering. No Root Growth: Some cuttings take longer to root. Patience is key. However, if after several weeks there’s no sign of growth, you may need to try again with a new cutting. Mold: Keep the environment clean and reduce humidity if mold appears. Frequently Asked Questions Can all rare houseplants be propagated from cuttings? Not all plants are suitable for propagation from cuttings. It’s essential to research each species’ specific needs. How long does it take for roots to form? It can vary widely depending on the plant type and environmental conditions, but typically it takes a few weeks to a few months. What are the best conditions for rooting cuttings? Most cuttings thrive in warm, humid conditions with indirect sunlight. Avoid direct sun as it can scorch the delicate new roots. Further Reading Expanding your knowledge on the care of rare houseplants can dramatically increase your success rate. Consider reading more about specific plants and their needs at these links: How to Water Alocasia Without Overwatering Philodendron Melanochrysum vs. Gloriosum: What’s the Difference? Anthurium Clarinervium Care and Common Mistakes to Avoid Building a collection of rare houseplants from cuttings is a fulfilling project that can beautify your home and deepen your connection with nature. With patience and care, even beginners can cultivate a thriving indoor garden.

Read more

How to Propagate Monstera in Water (Step-by-Step) - Odd Leaf

by Odd Leaf

How to Propagate Monstera in Water (Step-by-Step)

How to Propagate Monstera in Water (Step-by-Step) Welcome, houseplant enthusiasts! If you're eager to expand your collection of rare houseplants, propagating Monstera in water is a practical and rewarding project. Known for its stunning fenestrated leaves, Monstera is not only a sought-after decor piece but also a delight to propagate. This guide will walk you through the step-by-step process to successfully propagate your Monstera, ensuring you can enjoy even more of these magnificent plants in your home. Why Propagate Monstera in Water? Water propagation is a popular method among plant lovers due to its simplicity and effectiveness. It allows you to monitor root development visually, which is not only fascinating but also provides clear indications when the plant is ready for potting. This method is especially suitable for beginners who might be nervous about more complex propagation techniques. Materials Needed Clean, sharp scissors or a knife A clear glass jar or vase Room temperature water Your Monstera plant Step-by-Step Guide to Propagating Monstera in Water Choose the Right Stem: Look for a healthy stem on your Monstera with at least one node and one leaf. The node is a small, brown bump from where roots will grow. Make the Cut: Using your clean, sharp scissors or knife, make a clean cut just below a node. Ensure the cutting is about 10-15 cm long. Prepare the Cutting: Remove any leaves that might sit below the water level in your container to prevent rot. Submerge in Water: Place the cutting in a clear glass jar filled with room temperature water. Make sure the node is submerged, but the leaves should remain above water. Choose the Right Spot: Position the jar in a warm place with bright, indirect sunlight. Avoid direct sunlight as it can scorch the leaves and overheat the water. Change the Water Regularly: Refresh the water every few days to prevent bacteria growth and keep it clear. Watch and Wait: Root development can take anywhere from 2-6 weeks. Once the roots are a few inches long, your Monstera is ready to be potted. Potting Your Monstera: Plant your new Monstera in a pot with well-draining soil. Water it thoroughly and continue to care for it as you would any other Monstera. Care Tips After Propagation After moving your propagated Monstera to soil, it’s crucial to maintain proper care to ensure healthy growth. Here are some tips: Water the plant when the top inch of soil feels dry. Keep the plant in indirect sunlight. Use a balanced, water-soluble fertilizer every month during the growing season. FAQs About Propagating Monstera How long does it take for Monstera roots to develop in water? Root development can vary but typically takes between 2-6 weeks. Can any Monstera variety be propagated in water? Yes, most Monstera varieties can be propagated using the water method, including the popular Monstera deliciosa and Monstera adansonii. What should I do if the water turns murky? Change the water immediately if it becomes cloudy or murky. This is crucial to prevent bacterial growth that can harm the cutting. Propagating your Monstera in water not only adds to your collection of rare houseplants but also gives you the thrilling experience of watching new roots form right before your eyes. With patience and care, you’ll soon have a new Monstera to enjoy and nurture. Happy planting! For more information on caring for your Monstera and other houseplants, visit our Monstera collection.

Read more

The Best Way to Root Philodendron Cuttings

by Odd Leaf

The Best Way to Root Philodendron Cuttings

The Best Way to Root Philodendron Cuttings Philodendrons are a staple in the world of rare houseplants, known for their exotic appearance and relatively easy care. One of the most thrilling aspects of growing these plants is propagating new ones from cuttings. Whether you're a beginner or an intermediate plant enthusiast, rooting Philodendron cuttings can be a rewarding experience. This guide will walk you through the best methods to ensure your new Philodendron thrives. Understanding Philodendron Cuttings Before you start, it's crucial to understand what makes a good cutting. A healthy Philodendron cutting should include at least two nodes, which are the small bumps on the stem where leaves and roots emerge. The presence of at least one leaf is also beneficial, as it will help the cutting photosynthesize and grow more vigorously. Materials You Will Need Sharp, clean scissors or pruning shears A healthy Philodendron plant Water (for water propagation) Potting mix (for soil propagation) A clear container or pot Rooting hormone (optional) Step-by-Step Guide to Rooting Philodendron Cuttings There are two popular methods for rooting Philodendron cuttings: water propagation and soil propagation. Both methods are effective, so the choice depends on your preference. Water Propagation Prepare the Cutting: Using your sharp scissors or shears, cut just below a node. Remove any lower leaves that might sit in water. Submerge in Water: Place the cutting in a clear container filled with water, ensuring no leaves are submerged. Only the nodes should be underwater. Change the Water Regularly: Refresh the water every few days to prevent bacteria buildup and provide fresh nutrients to the cutting. Wait for Roots to Develop: Roots typically begin to form within 2-4 weeks. Once the roots are a few inches long, the cutting is ready to pot in soil. Soil Propagation Prepare the Cutting: Similar to water propagation, cut just below a node and remove any lower leaves. Dip in Rooting Hormone: This step is optional but can encourage faster root development. Dip the cut end into rooting hormone before planting. Plant in Soil: Plant the cutting in a pot filled with a well-draining potting mix, ensuring the nodes are buried in the soil. Maintain Moisture: Keep the soil consistently moist but not waterlogged to support root growth. Wait for Growth: It can take several weeks to months for the cutting to establish roots and start growing new leaves. Tips for Success Choose Healthy Parent Plants: Always take cuttings from vigorous, healthy plants to increase the likelihood of successful propagation. Use Clean Tools: Sterilize your cutting tools before use to prevent the spread of disease. Provide Adequate Light: While your cuttings don't need direct sunlight, providing bright, indirect light will support better growth. Be Patient: Rooting can take time, especially in cooler temperatures. Keep conditions optimal and give your plants time to adapt and grow. Frequently Asked Questions Can you root any type of Philodendron? Most Philodendrons root easily from cuttings, but some variegated or more exotic types might require more specific care. Research your specific type for the best results. How long does it take for Philodendron cuttings to root? Typically, it takes 2-4 weeks in water and a bit longer in soil. However, this can vary based on environmental conditions and plant variety. Is rooting hormone necessary for Philodendron cuttings? While not necessary, rooting hormone can expedite the rooting process and increase the success rate, especially in soil propagation. Rooting Philodendron cuttings is a straightforward way to expand your collection of rare houseplants. With patience and care, you'll soon have new plants to enjoy and share. For more tips on caring for your new Philodendrons, check out our detailed care guides and other related articles on Odd Leaf Houseplants.

Read more