
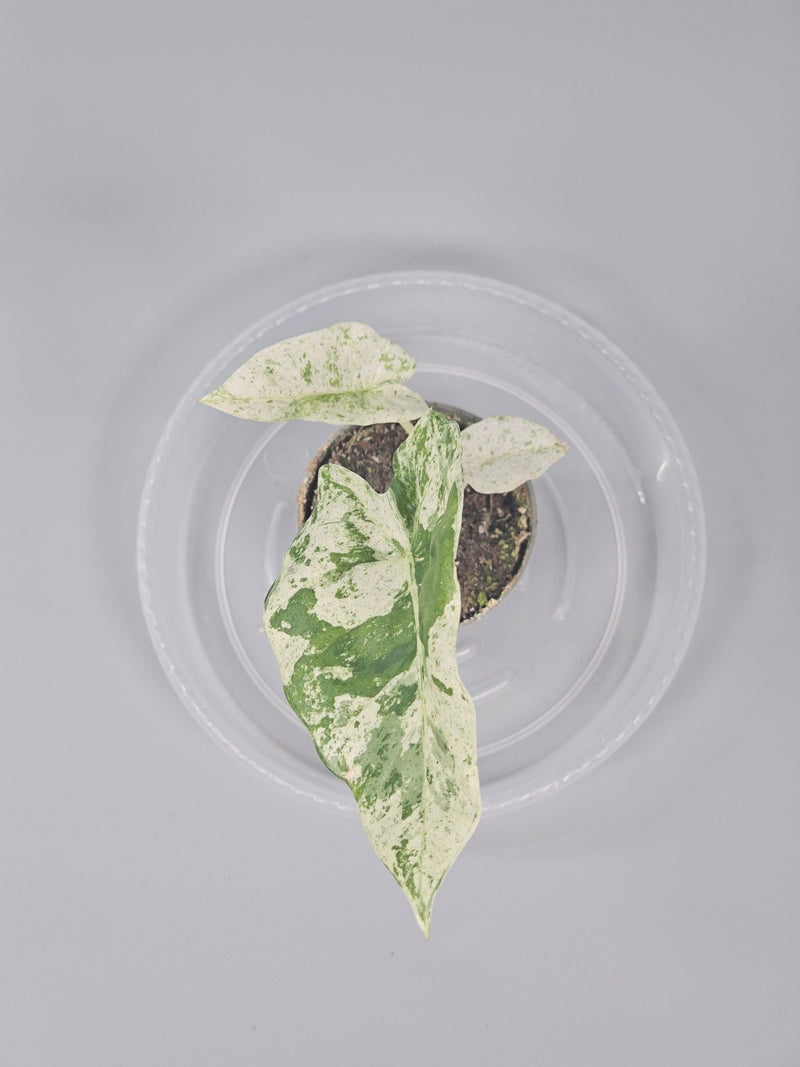
by Odd Leaf
Alocasia Black Velvet: Care Tips for This Statement Plant
Master Alocasia Black Velvet care with our expert tips. Learn how to nurture this stunning rare houseplant for optimal growth.
by Odd Leaf
Alocasia Black Velvet: Care Tips for This Statement Plant
Master Alocasia Black Velvet care with our expert tips. Learn how to nurture this stunning rare houseplant for optimal growth.
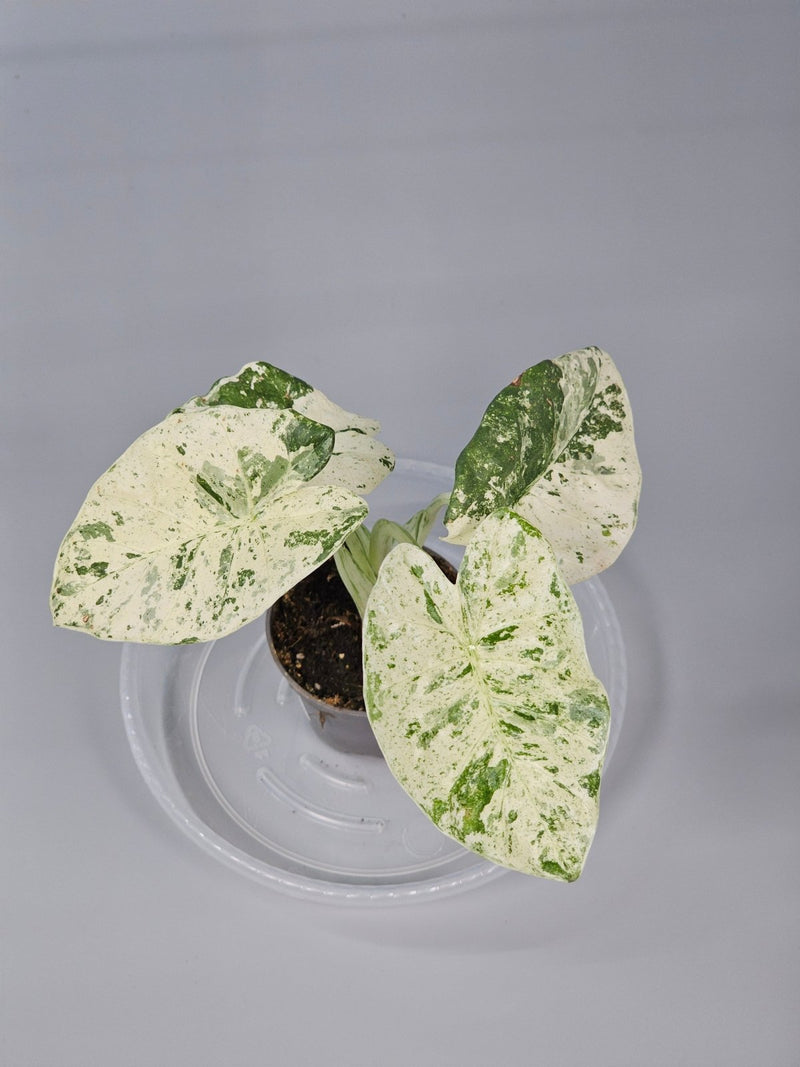
by Odd Leaf
Alocasia Drooping? Here’s What to Do
Alocasia Drooping? Here’s What to Do If you’ve recently noticed your Alocasia looking a bit sad and droopy, you’re not alone. This stunning member of the rare houseplants collection can sometimes present a challenge, even to seasoned indoor gardeners. But worry not! With a few tweaks to your care routine, you can restore your Alocasia to its former glory. Let’s dive into the common causes of drooping in Alocasias and how to remedy them. Understanding Alocasia Drooping Alocasias, with their striking foliage and architectural beauty, are a popular choice among rare houseplants enthusiasts. However, their drooping leaves can be a sign of several potential issues, ranging from watering mishaps to environmental stressors. Common Reasons for Drooping Watering Issues: Both overwatering and underwatering can lead to drooping leaves. Light Requirements: Insufficient lighting can weaken your Alocasia, leading to droopy leaves. Humidity and Temperature: Being tropical plants, Alocasias thrive in high humidity and stable temperatures. Pot and Soil: Poor drainage and the wrong soil mix can affect the plant’s health. Step-by-Step Guide to Fix Drooping Alocasia 1. Check the Watering Schedule Begin by examining the soil. If it’s soggy, you might be overwatering your plant. Allow the soil to dry out before watering again. Conversely, if the soil is bone dry, your Alocasia needs more frequent watering. Aim for a balance where the soil remains slightly moist but not waterlogged. 2. Assess the Lighting Conditions Alocasias require bright, indirect light. If your plant is in a too dark spot, consider moving it to a location where it can receive the right amount of light without being exposed to direct sunlight, which can scorch its leaves. 3. Adjust Humidity and Temperature Try to maintain a humidity level of at least 60% around your Alocasia. You can increase humidity by using a humidifier, placing a water tray near the plant, or grouping it with other plants. Also, keep your Alocasia away from drafts and sudden temperature changes. 4. Ensure Proper Drainage and Soil Mix Check if the pot has adequate drainage holes. If not, repot your Alocasia into a pot that does. Use a well-draining soil mix designed for tropical plants, which typically includes peat, perlite, and vermiculite. Troubleshooting Other Issues What if the problem persists after adjusting care? Examine the roots for signs of rot, which could indicate overwatering. If root rot is present, you may need to trim the affected roots and repot the plant into fresh soil. Can nutrient deficiencies cause drooping? Yes, a lack of essential nutrients like potassium can lead to drooping leaves. Consider using a balanced, water-soluble fertilizer every month during the growing season. Is pest infestation a possible cause? Yes, pests such as spider mites and mealybugs can stress your plant, leading to drooping. Regularly inspect the leaves and treat infestations with appropriate insecticides or natural remedies like neem oil. Styling Your Alocasia Once your Alocasia is thriving, it can become a focal point in any room. Place it in a decorative pot that complements your interior style, and position it in a spot where its dramatic leaves can truly stand out. Consider pairing it with other rare houseplants to create a lush, tropical feel in your home. Final Thoughts While Alocasia care can be slightly demanding, the visual rewards of this stunning plant are well worth the effort. By understanding the needs of your Alocasia and responding to any signs of distress quickly, you can ensure that your plant remains a vibrant and healthy part of your indoor garden for years to come. For more tips on caring for other rare houseplants, check out our detailed guides on Anthurium care and Monstera care.
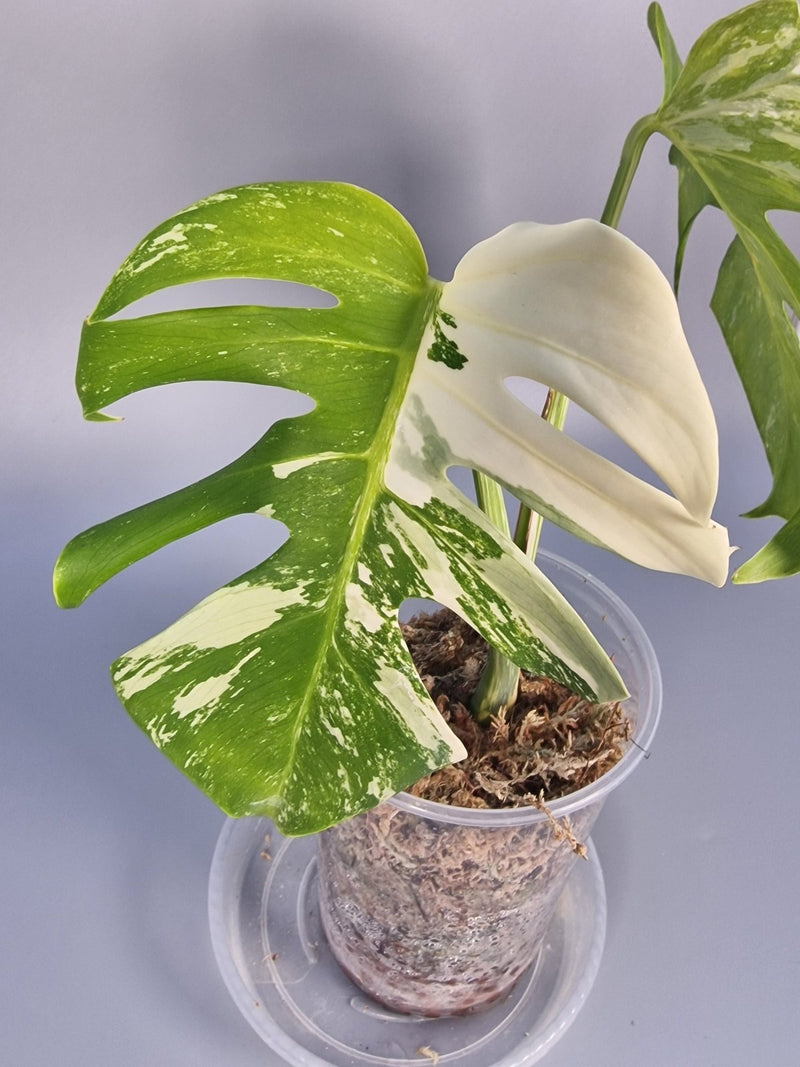
by Odd Leaf
How to Grow and Care for Monstera Albo
Master Monstera Albo care with our expert tips on growing this striking rare houseplant at home.
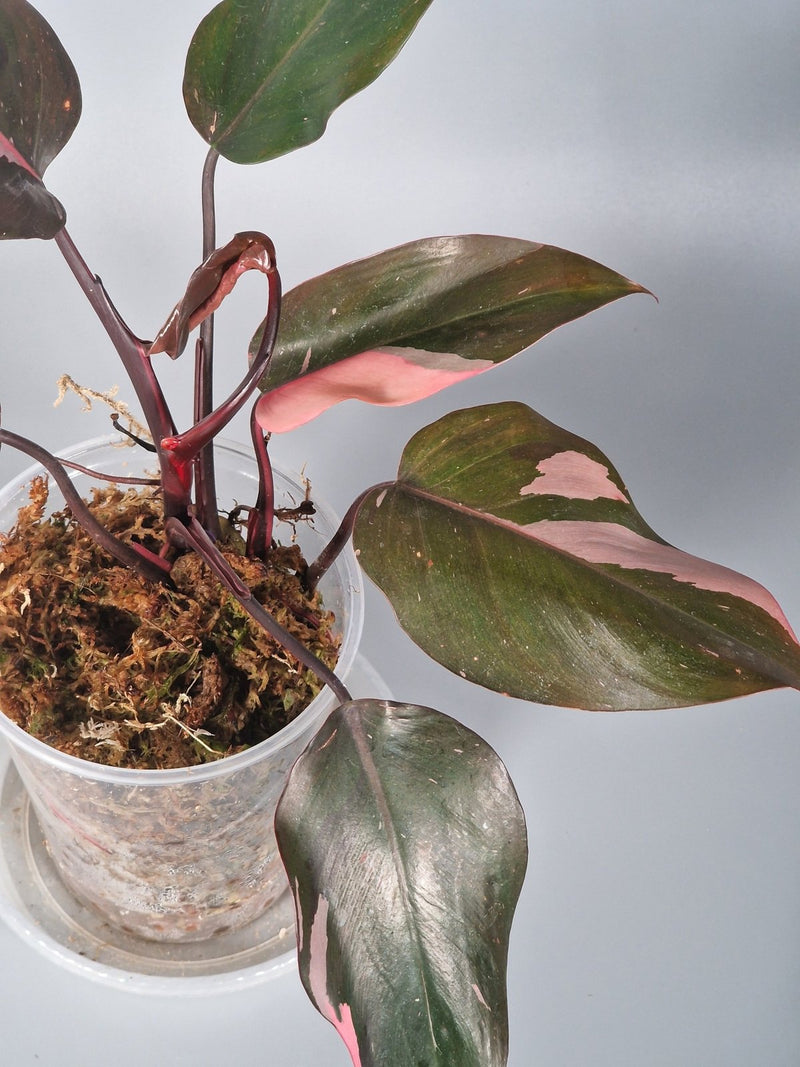
by Odd Leaf
How to Propagate a Philodendron in Water or Soil
How to Propagate a Philodendron in Water or Soil Philodendrons are among the most popular rare houseplants cherished for their lush foliage and adaptability. If you're keen to expand your collection or share with fellow enthusiasts, propagating a philodendron is a rewarding project. This guide will walk you through the steps of propagating philodendrons in water and soil, making it easy for beginners and informative for intermediate plant lovers. Understanding Philodendron Propagation Propagation involves creating new plants from cuttings of an existing plant. Philodendrons can be propagated by stem cuttings either in water or directly in soil. Both methods are effective, so you can choose based on your comfort level and the supplies you have on hand. Tools and Materials Needed Sharp, clean scissors or pruning shears Clear glass jar or vase (for water propagation) Pot with drainage holes (for soil propagation) Fresh potting soil, preferably a mix suitable for aroids Rooting hormone (optional) Propagating Philodendron in Water Water propagation is not only effective but also allows you to observe the rooting process, which can be quite engaging. Step-by-Step Guide: Choose a Stem: Select a healthy stem with at least two to three leaves and nodes (where leaves attach to the stem). Make the Cut: Cut just below a node using clean, sharp scissors. A 4-6 inch cutting is ideal. Remove Lower Leaves: Strip any leaves that would sit below the water level in your container. Submerge the Node: Place the cutting in a glass jar filled with water, ensuring the node is submerged, and the leaves are not. Place in Appropriate Light: Set the jar in a location with bright, indirect sunlight. Change Water Regularly: Refresh the water once a week to prevent bacterial growth. Wait for Roots: Roots should begin to form within 2-4 weeks. Once they’re a few inches long, they are ready to pot in soil. Propagating Philodendron in Soil Propagating directly in soil can be quicker than water propagation since the roots adapt immediately to their growing medium. Step-by-Step Guide: Prepare the Cutting: Follow the same steps as above for selecting and preparing your cutting. Dip in Rooting Hormone: This step is optional but can encourage quicker root development. Plant the Cutting: Plant the cutting in moist soil, making sure the node is buried beneath the soil surface. Ensure Proper Humidity: Cover the pot with a plastic bag to create a humid environment, which helps roots develop. Place in Indirect Sunlight: Keep the pot in a warm area with bright, indirect light. Monitor Moisture: Keep the soil consistently moist but not soggy. Check weekly until you feel resistance when slightly tugging on the plant, indicating root formation. Aftercare Tips Once your philodendron has established roots and begins to show new growth, follow these aftercare tips to ensure your new plant thrives: Gradually acclimate your plant to less humid conditions by opening the plastic bag progressively over a week. Feed with a balanced, water-soluble fertilizer every month during the growing season. Re-pot when the plant outgrows its pot or the roots become crowded. Frequently Asked Questions Can I propagate any philodendron species this way? Yes, most philodendron species can be propagated from stem cuttings in water or soil. However, some rare varieties may have specific needs. How long does it take for a philodendron cutting to root in soil? It typically takes 2-6 weeks for philodendron cuttings to root in soil, depending on environmental conditions and care. Is it better to propagate in water or soil? Both methods work well, but water propagation allows you to see the roots grow and adjust care more easily, which might be more satisfying for beginners. Propagating philodendrons can be a delightful way to expand your collection of philodendrons or other rare houseplants. With patience and care, you can enjoy the fruits of your labour through beautiful new plants that bring life and greenery to your home. Happy propagating!
by Odd Leaf
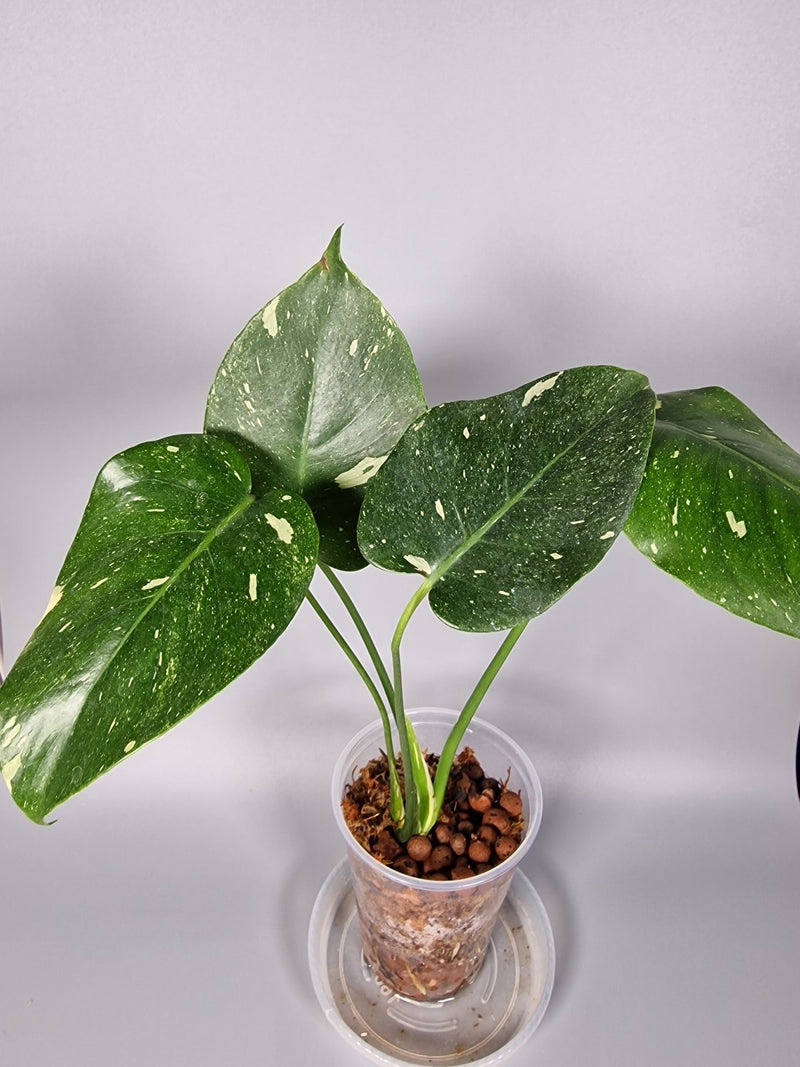
Monstera Thai Constellation: Why It's Worth the Hype
Discover why Monstera Thai Constellation stands out in the world of rare houseplants with our expert care guide.
by Odd Leaf
Rare Houseplants for Beginners: Low Maintenance, High Impact
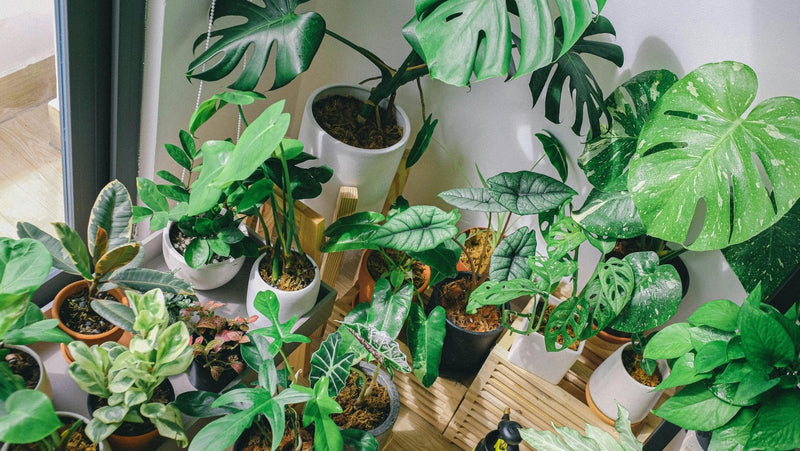
Rare Houseplants for Beginners: Low Maintenance, High Impact Embarking on the journey of indoor gardening can be both exciting and overwhelming, especially when you dive into the world of rare houseplants. These plants not only add a unique touch to your home decor but also bring the joy of nurturing something truly special. For beginners, the key is to start with species that are as forgiving as they are beautiful. This guide will introduce you to some low-maintenance, high-impact rare houseplants perfect for those just starting their indoor garden adventure. Why Choose Rare Houseplants? Rare houseplants can transform an ordinary room into a lush oasis. They often feature striking appearances and unusual textures that regular houseplants simply don't offer. Owning rare plants also gives you a chance to learn about exotic species and their native environments, adding an educational element to your gardening practice. Top Rare Houseplants for Beginners Here’s a list of some beginner-friendly, rare houseplants that promise to make a statement without requiring too much fuss: Monstera Adansonii (Swiss Cheese Plant): Known for its distinctive leaf holes, this plant is a tropical showstopper that thrives in indirect light and requires only moderate watering. Learn more about caring for Monsteras here. Philodendron Birkin: With its stunning variegated leaves, the Philodendron Birkin grows well in low-light conditions and is relatively drought-tolerant. More on Philodendron care here. Anthurium Clarinervium: This plant features heart-shaped velvet leaves and is perfect for adding texture to your indoor garden. It prefers bright, indirect light and occasional watering. Discover Anthuriums here. Syngonium Albo Variegata: A stunning variety with white variegation, it’s easy to care for and can adapt to various lighting conditions. Explore more about Syngoniums here. Care Tips for Rare Houseplants Plant Light Requirements Watering Extra Tip Monstera Adansonii Indirect, bright light Once a week Mist occasionally to imitate humidity Philodendron Birkin Low to moderate light When soil feels dry Use a well-draining pot Anthurium Clarinervium Bright, indirect light Keep soil evenly moist Provide a warm environment Syngonium Albo Variegata Low to bright indirect light Every 7-10 days Prune to encourage bushier growth Frequently Asked Questions What is the easiest rare houseplant to take care of for a beginner? The Philodendron Birkin is generally considered one of the easiest rare houseplants to care for, thanks to its adaptability to various lighting conditions and its moderate watering needs. How often should I water my rare houseplants? Watering frequency depends on the specific plant, but a good rule of thumb is to check the topsoil. If the top inch of soil is dry, it’s time to water your plant. Can rare houseplants survive in low light? Some rare houseplants like the Philodendron Birkin can survive in low light. However, make sure to research each plant's specific light requirements for optimal growth. Conclusion Starting with rare houseplants doesn't have to be daunting. By choosing the right plants and understanding their basic needs, even beginners can enjoy the beauty and satisfaction that come from growing these exotic beauties. Remember, every plant has its own personality, so take the time to understand and nurture your green friends, and they will thrive under your care. Happy planting!